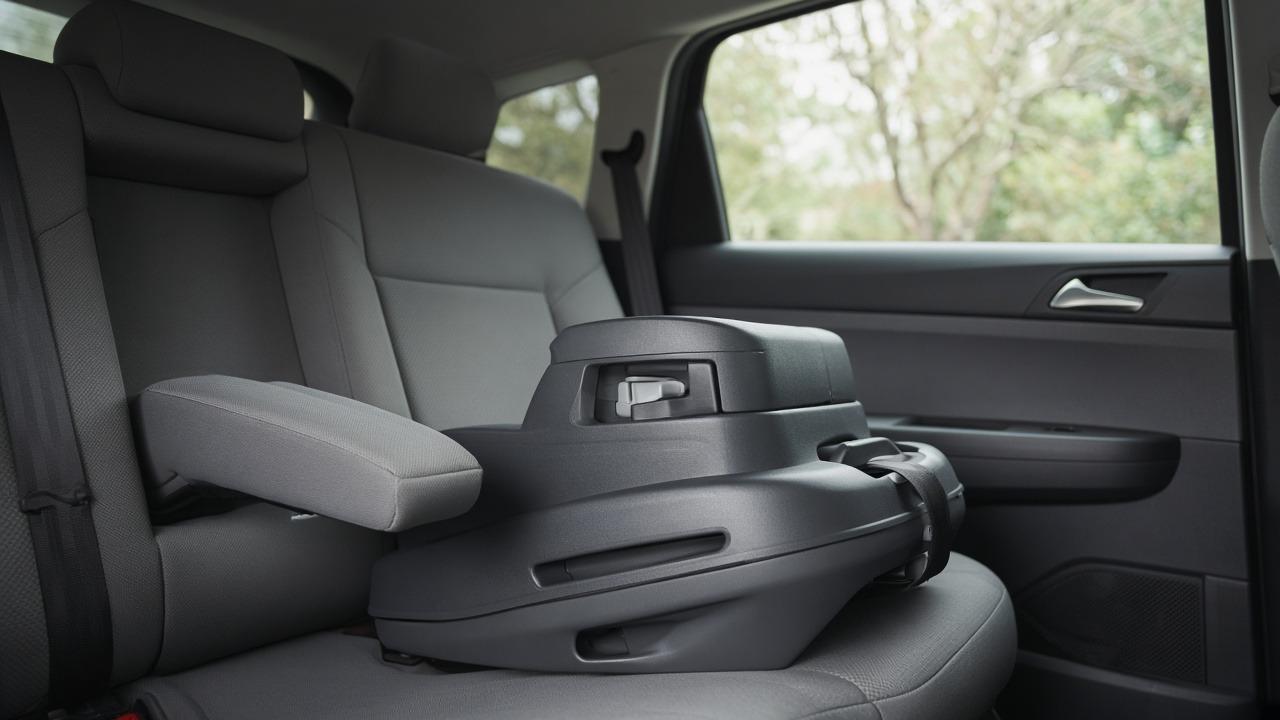
The car seat is often the one item that can legally stop you leaving the hospital — and incorrect installation is common. The fix is usually free: many fire stations, hospitals, and certified technicians will check your install in about twenty minutes.
This is practical safety orientation, not a product review and not medical advice. Follow your seat’s manual and NHTSA guidance for your child’s age, weight, and height. Confirm any clinical travel questions with your pediatrician.
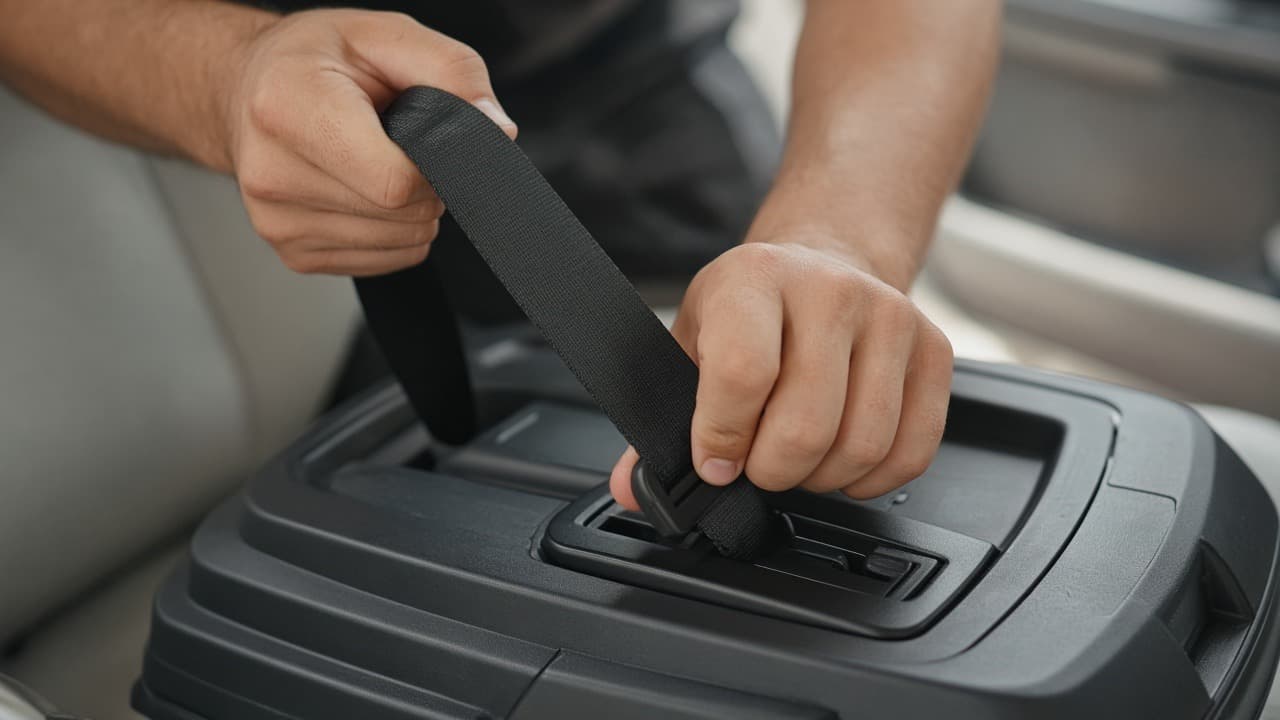
Book a free inspection before the due date
Search for a Child Passenger Safety Technician (CPST) inspection via NHTSA’s local resources, your hospital’s childbirth education desk, or a nearby fire station that advertises checks.
Bring:
- The car seat and base
- The vehicle you will actually use for hospital discharge
- The manuals (or PDF on your phone)
- The outfit/harness you plan to use with a newborn (no puffy coats under straps)
Do the check in the third trimester when you are still mobile. Waiting until discharge day turns a free service into a scramble.
Rear-facing is the default for babies
Infants and toddlers ride rear-facing until they reach the maximum rear-facing weight or height limit of their seat — which for many convertible seats is well beyond the first birthday. Your pediatrician and NHTSA both emphasize rear-facing longer than older cultural habits suggest.
Do not turn the seat forward because a relative “always did it at six months.” Limits are on the label and in the manual.
Common install mistakes (the checklist techs see)
- Seat moves more than an inch side-to-side at the belt path after install
- Using both LATCH and the seat belt together when the manual says pick one
- Twisted harness straps or a chest clip at the wrong height (usually at armpit level)
- Recline angle wrong for newborns (use the built-in angle indicator)
- After-market inserts or mirrors not allowed by the manufacturer
- Expired seat or a seat with an unknown crash history (replace after a moderate/severe crash per manufacturer rules)
If the seat fails the inch test, redo the install — leaning into the seat while tightening often helps — then recheck.
Tradeoff: A expensive seat installed poorly is less safe than a mid-range seat installed correctly and inspected once.
Hospital discharge day
Install the base before you go into labor if you can. On discharge:
- Harness snug (you should not pinch slack at the shoulder)
- Chest clip at armpit level
- No thick coats under the harness; add blankets over the straps if needed
- Mirror or toy attachments only if your manual allows them
If you take a taxi or rideshare home, you still need a correct seat — confirm the vehicle’s seating position works with your base or seat-belt install.
Choosing a seating position in the car
Prefer a back-seat position. Mid-back is often most protected in vehicles that allow a stable install there; some cars only allow LATCH in outboard seats — read the vehicle manual, not just the seat manual.
Never put a rear-facing seat in front of an active airbag. If you have a truck or two-seater constraint, get a technician’s help before inventing a workaround.
If two caregivers share two cars, install a base in each car or practice a clean seat-belt install of the carrier without the base — whichever your manual supports. Switching cars with a half-learned install is how the inch-test fails on a Tuesday.
Used seats and expiration
Be cautious with secondhand seats:
- Know the crash history (if unknown, skip)
- Check the expiration date molded into the plastic
- Confirm all parts, manuals, and labels are present
- Register the seat with the manufacturer for recall notices
A free used seat with a missing lockoff or unknown history is not a bargain. CPSC and manufacturer recall pages are worth a five-minute search when you buy new as well.
After a crash
Manufacturers publish rules for replacement after a crash. When in doubt, replace the seat and call the insurer — many policies cover child-restraint replacement after a covered accident. Do not keep using a seat that absorbed a moderate or severe impact because it “looks fine.”
Practice with a doll or weighted bag
Before the baby arrives, do one full practice: coat off, harness snug, chest clip placed, carrier clicked into base until it locks, inch-test at the belt path. The first real buckled newborn should not be your first attempt at the mechanism.
Install early, keep the baby rear-facing to the seat’s limits, and use a free technician check once. Follow NHTSA and your manual when anything conflicts with advice from the group chat.